Inspired by Wyoming
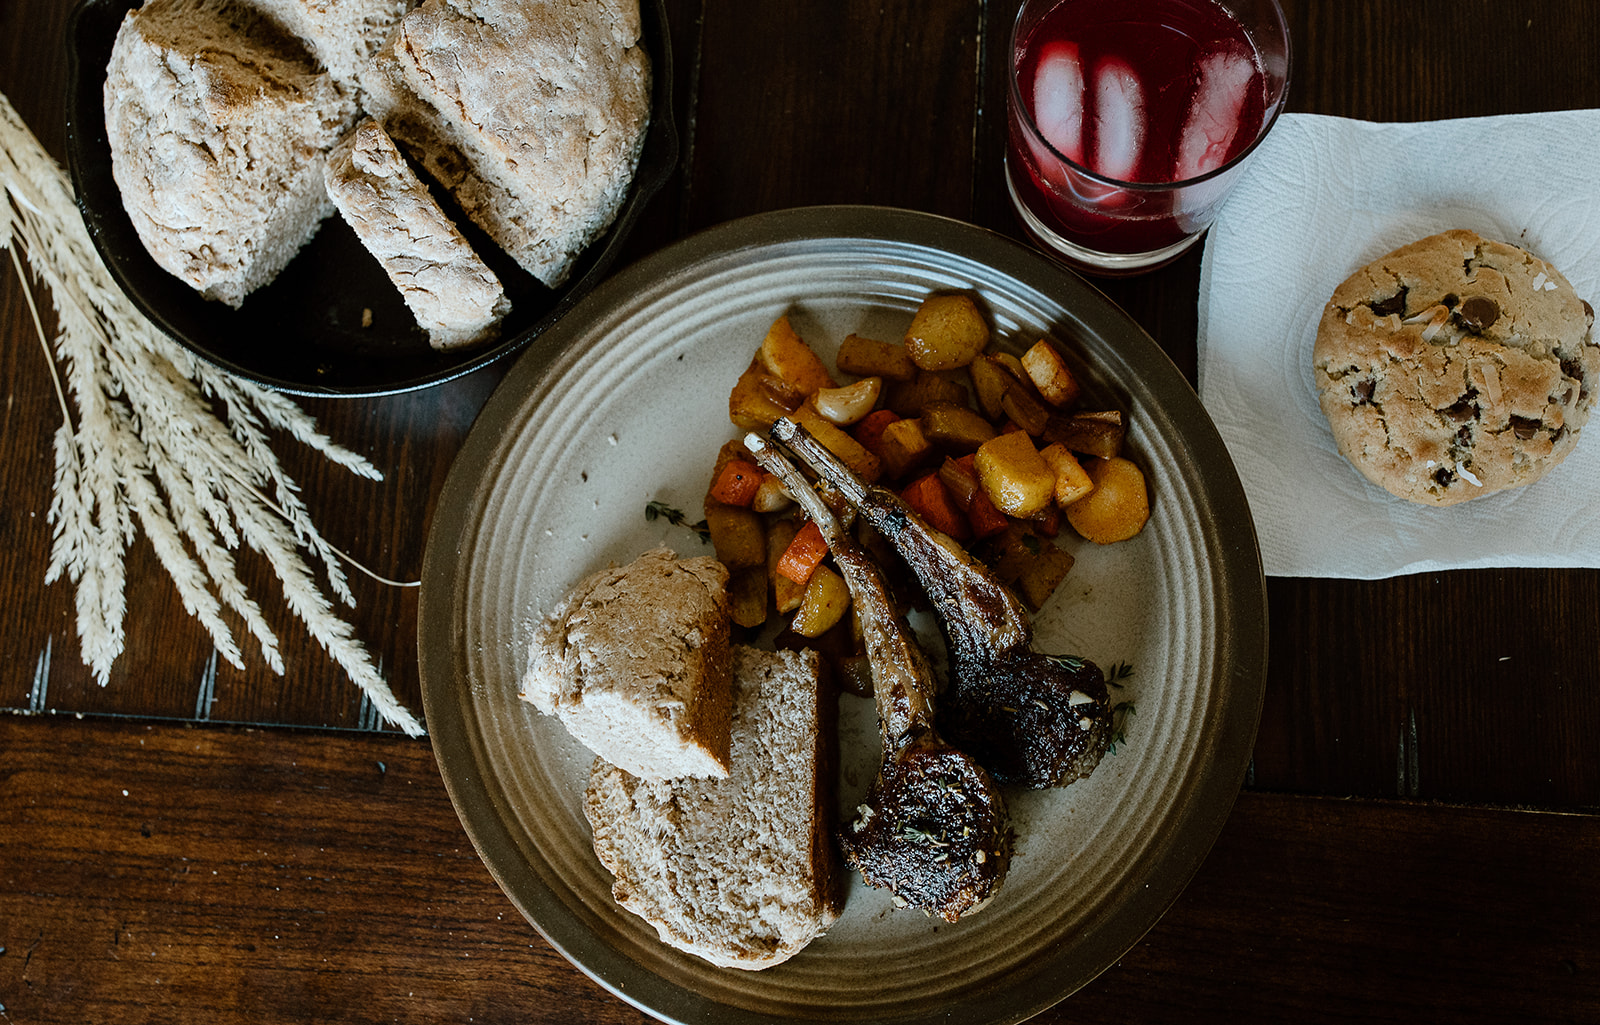
Earthy, rustic, and relatively simple, this Old-West-inspired meal took me out of my culinary comfort zone and turned out much better than expected!
THE MEAL
(Click on the links above to jump to that part of the post!)
Even though I live next-door to Wyoming, I didn’t know much about it before doing research for this meal. Despite being the 10th-largest state in the USA, it has the smallest population. Aside from the gorgeous Yellowstone National Park, most people think of Wyoming as nothing but open plains, antelope, and Rocky Mountain oysters.
I don’t know how Wyoming natives will feel about what I made, but I decided to choose recipes that represented different aspects of Wyoming’s rich, relatively unknown culture. The result was a rustic, flavorful meal that felt much fancier than we would’ve expected from Wyoming, but also reminded us of the familiar traditions of the Old West.
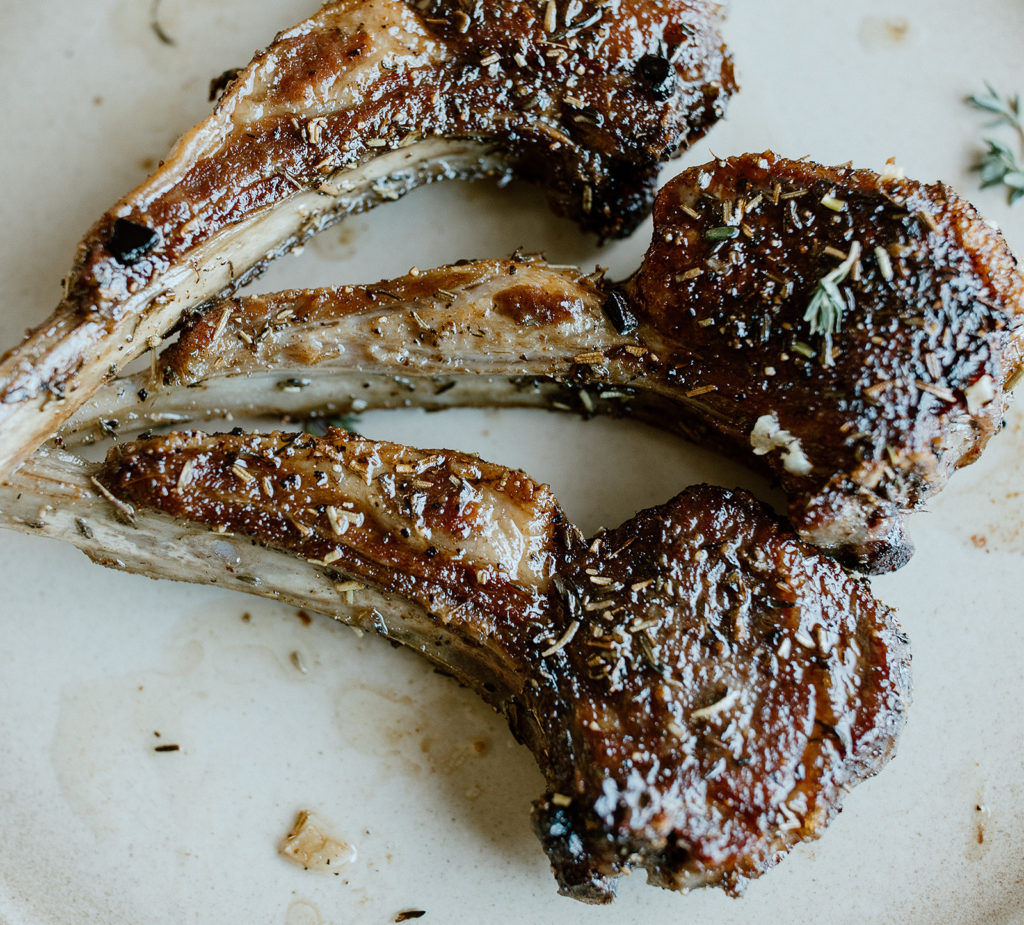
PAN-SEARED LAMB CHOPS
Probably the most iconic Wyoming food is Rocky Mountain oysters, but . . . I’m sorry, I wasn’t about to subject my family (and myself) to my attempt to fry bull testicles.
Instead, I subjected us to my attempt to make lamb!
Wyoming is fourth in the nation in sheep production. The environment is ideal for sheep, as European settlers discovered when they saw how abundant bighorn sheep were in the area. The Tukudeka Shoshone were called “sheep eaters” because they depended so highly on the bighorn sheep in the high mountain areas of Wyoming.
I, on the other hand, had never eaten lamb chops before, let alone made them. I got really anxious about it. What if I made it wrong and it turned out awful? Or what if I made it right but I just didn’t like the taste? Was I going to end up regretting buying and painstakingly cooking an expensive rack of lamb? Should I just give up and stick to the familiar foods I’ve been making my whole life?
To my surprise, though, not only were the chops not as difficult to prepare as I’d expected, we all ended up really liking them!
Apparently the taste that people don’t like comes from the silverskin if you don’t french the meat first. Thankfully the Kirkland rack of lamb comes already frenched, so that saved me from trying (and likely failing) to do it myself. I’m not really practiced at cutting meat in general–I tend to buy it already sliced (like the stir-fry-meat finger steaks) or cook it whole (like the Dutch oven pot roast)–but I managed to cut the rack of lamb into individual chops without hacking them to pieces! Getting them even thicknesses was a little more challenging, but I didn’t do too bad.
I was warned that lamb was gamey, and I got even more nervous when I found that the herb marinade looked and smelled like a bunch of chopped grass. A combination of oil, thyme, rosemary, and cumin made it seem like the earthiest food I’ve ever prepared.
The biggest thing I was nervous about, though, was cooking the lamb correctly. The recipe said to just sear the chops on both sides, then get them to an internal temperature of 130 degrees. The searing process was fine, but I had trouble with the meat thermometer because the chops were so thin and the thermometer so slow to read the temperature (I really need to get a digital one). I ended up overcooking them a little, which was totally fine for my family, and much better than being bloody and raw in the middle as I’d feared. I’m sure Chef Ramsay would have told me I ruined them, but it could’ve gone a lot worse.
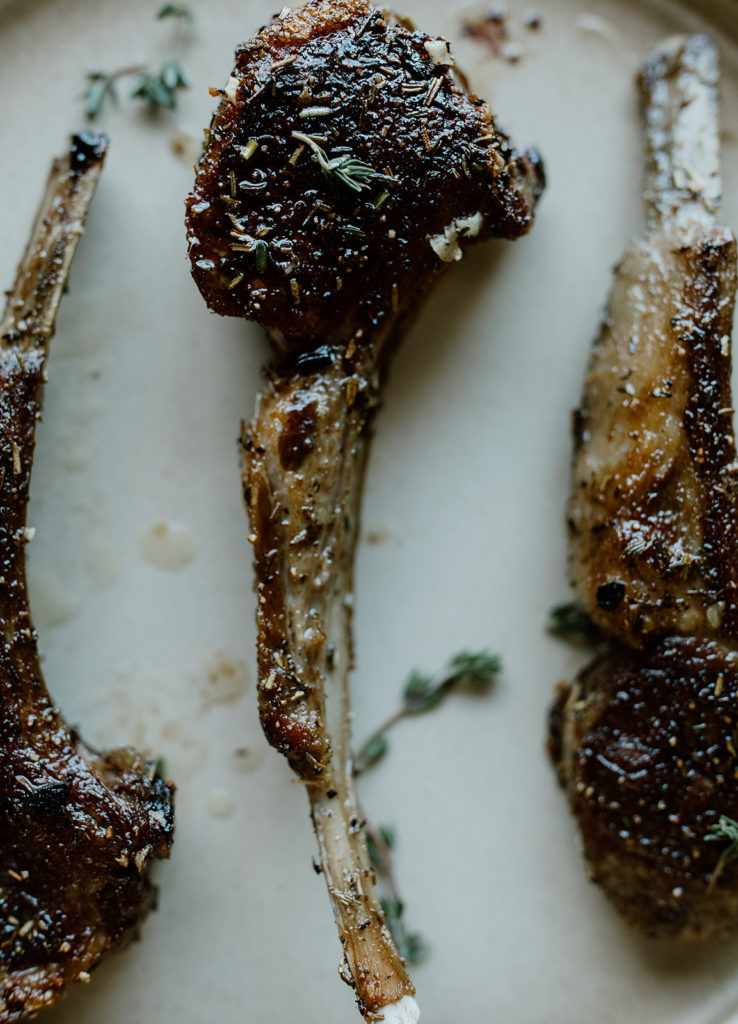
After searing the chops, basting them in garlic butter, and then letting them rest, my family and I all gathered at the table and took our first tentative bites.
And . . . we all really liked them!
Going into this, I knew that only two brothers-in-law loved lamb. I was worried that the rest of us would hate it–whether I made it correctly or not–and my brothers-in-law would end up having to eat it all to spare my feelings. But even my two sisters who previously said that they hate lamb devoured their portions! There wasn’t a scrap left over!
The meat was tender, juicy, and deliciously seasoned. My mom was as little turned off by the strip of fat on the bone, but the rest of us found it great to cut it off and eat it with the meatier parts to give it extra flavor.
All in all, successfully making lamb was a huge confidence booster, and it’s a nice, fancy food to have in my toolbox! I’m excited to be able to make it again for a special occasion someday.
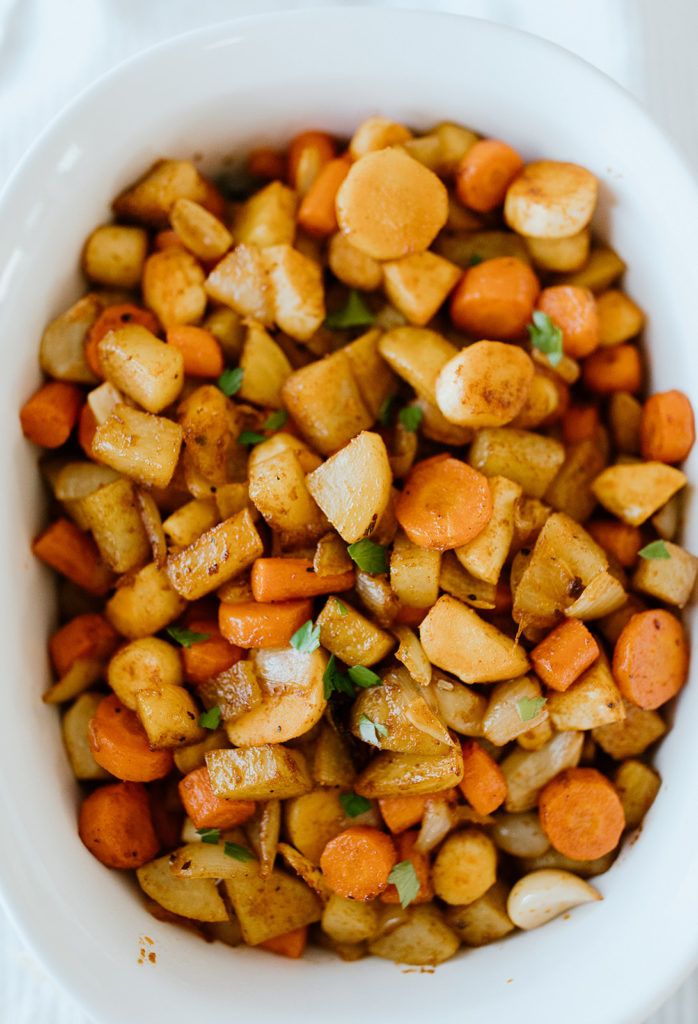
ROASTED ROOT VEGETABLES
To accompany our earthy lamb, I made earthy roasted root vegetables!
The Wyoming growing season is short and the summers cooler than some, so root vegetables like potatoes, beets, and onions grow really well there.
This recipe was very simple but seemed much more impressive than it was, especially when accompanied by lamb. All you need to do to make this is cut up russet potatoes, carrots, parsnips, beets, and onions into bite-sized pieces, toss them with garlic cloves, olive oil, salt, pepper, and cumin, and roast them for about 1 hour, turning them every 15 minutes until caramelized and tender.
Cooking with parsnips was a first for me. Before this, I couldn’t have even told you what a parsnip looked like! For anyone else who has never had them, parsnips are basically a paler, stringier, less sweet carrot. They didn’t get as tender as the rest of the veggies, but they were a nice addition!
The highlight of the dish was definitely the beets, though. Purple beets would have been prettier, but I chose golden beets so the dish would be more uniform in color. That took my family by surprise whenever they got a bite of beet they weren’t expecting.
The whole cloves, on the other hand, were an unpleasant surprise for some. I think I’ll probably do minced garlic next time.
PIONEER SODA BREAD
This would have been a great thing to make a couple weeks ago for St. Patrick’s Day, but I just know I would have gotten roasted for it not being authentic enough.
This soda bread is the Americanized version, brought to the West by immigrants from Ireland. The pioneers had all the necessary ingredients for this bread while crossing the plains, and it requires very little time or effort, so I can see how it became a staple food.
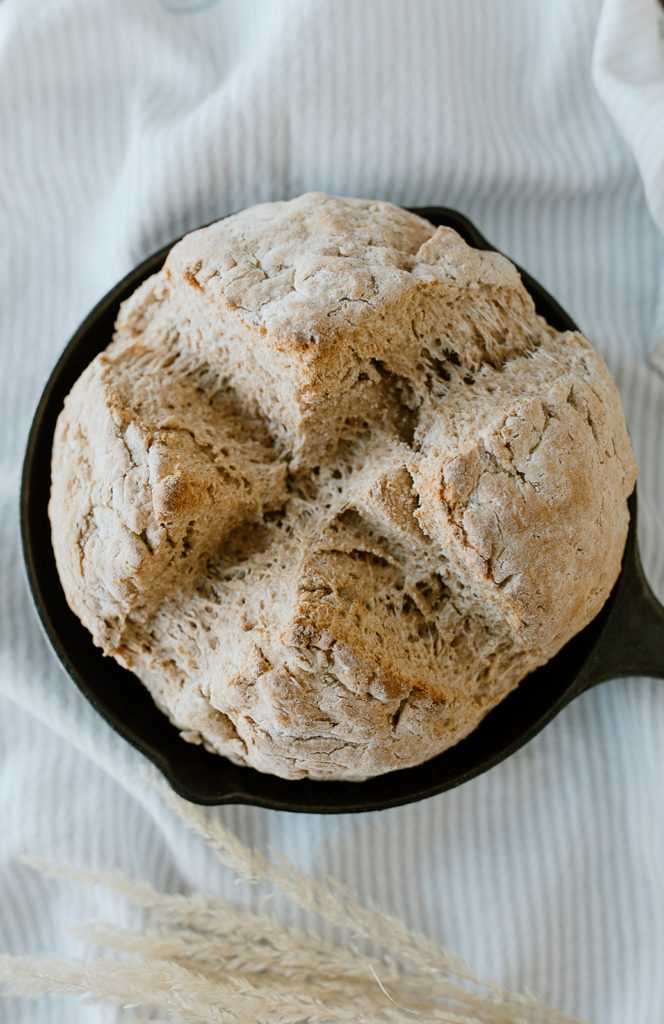
This version doesn’t have raisins, and it has more fat in it to make it more biscuit-like. It was super easy to throw together–no kneading required at all! Making it in a cast-iron skillet felt very authentic to the recipe’s roots, and it tasted great with just some butter.
Unfortunately, though, it was underbaked. Ironically, this simplest part of the meal was the only part that didn’t turn out right! Haha! The problem wasn’t with the recipe, but with my understanding of how convection ovens work. In the past, my parents’ convection oven seemed to always burn my foods, so this time I decided to put the bread in for less time than the recipe called for. The top and bottom were definitely cooked, and it sounded hollow when I tapped it, so I thought the middle was done too. It wasn’t until we cut into it hours later that we discovered a ribbon of raw dough in the center. That was a bummer. But we just ate around it, and it tasted fine!
I would also score it less deep next time–it’s not supposed to have four big peaks like that. But it was so easy to make that with just a couple slight adjustments, I’ll definitely feel confident in making it again! It’s a great recipe to have on hand when you don’t have a lot of time but want to add a delicious bread to your meal.
HOMEMADE BLACKBERRY SODA
According to the interwebs, old-fashioned soda is a popular feature of Wyoming eats. In Chugwater, Wyoming, you can find one of the nation’s oldest still-operating soda shop, the Chugwater Soda Fountain. Since 1914, they’ve been making soda the old-fashioned way–by pouring flavored syrup into a glass, then filling it with seltzer water from their soda fountain, as opposed to mixing and bottling the soda ahead of time.
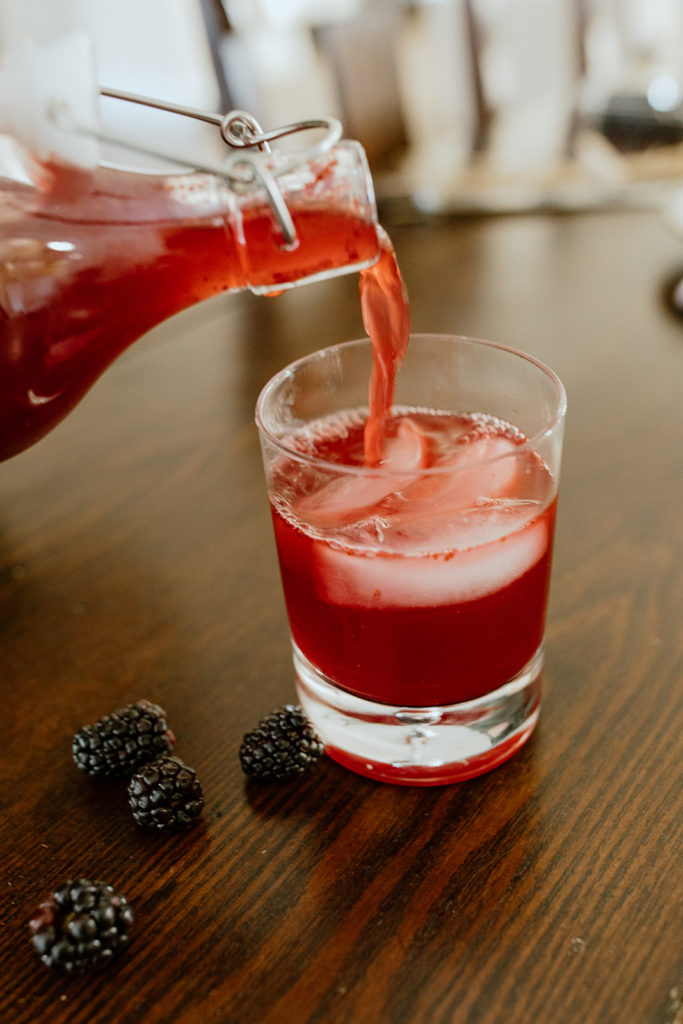
That’s essentially what I did for this recipe! I pulsed whole blackberries in a blender, then worked them through a fine-mesh strainer to sift out the fibers and seeds and get delicious, dark purple blackberry juice. Then I made a simple syrup out of honey and water heated on the stove until the honey dissolved. I put the blackberry juice in the cute bottle I found at IKEA, topped it with seltzer water, and then added the syrup last, as the recipe said.
Next time, I think I’ll do things differently. Adding the syrup last made it hard to tell if the final product was going to be sweet enough. It probably watered it down too much and definitely affected the fizziness, which we all agreed could have been better. Next time, I’ll sweeten the blackberry juice into a syrup on its own first, then add the seltzer.
Thankfully, though, the flavor did turn out pretty good after chilling in the fridge for a couple of hours. My sister who hasn’t had soda in several years for health reasons was delighted by this recipe, and I hope that she’ll be able to make her own sodas in the future!
As for why I chose blackberry juice, of all things–Wyoming’s most unique juice flavor is chokecherry, but I couldn’t find chokecherries anywhere, surprise surprise. I could barely find blackberries this time of year! But I went with blackberries because, though they’re an invasive species and thus not super traditional, they grow plentifully in Wyoming, like most shrubs. You can easily adapt this recipe to any flavor you want, though, so if you’ve got chokecherries on hand, I hope you’ll try to make your own chokecherry soda and let me know how it goes!
COWBOY COOKIES
Two words:
SO.
GOOD.
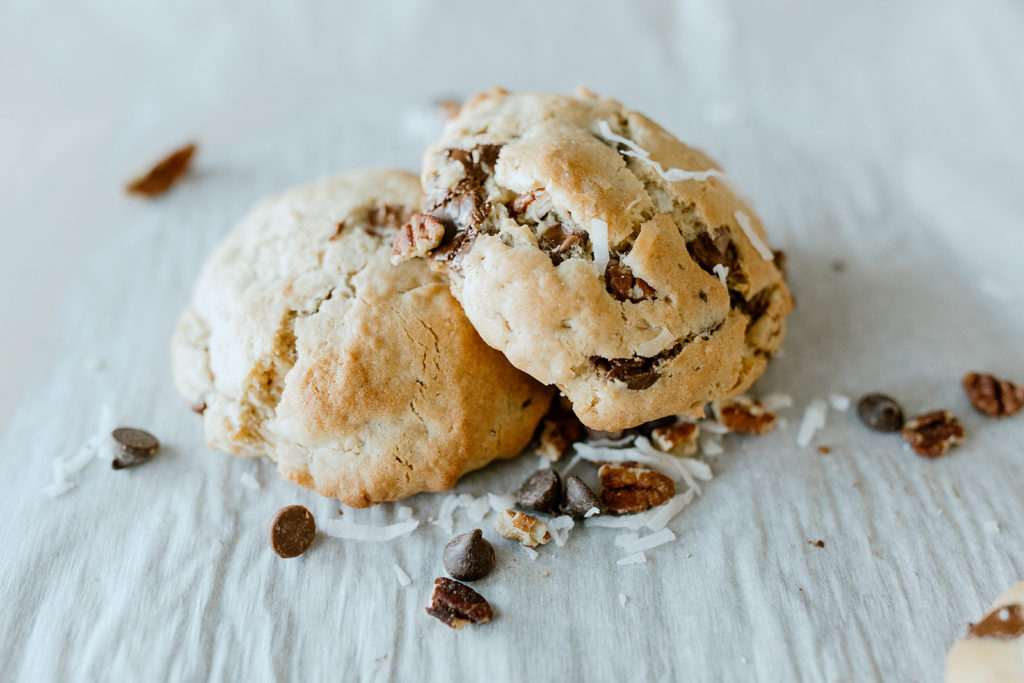
These cookies are huge, packed with flavor, and—for lack of a better word–scrumptious.
Legend has it that cowboy cookies were America’s first power bar. Cowboys needed something easy to store and easy to eat while they were out on the trail, so they packed calorie-dense cookies to take along with them. Obviously they didn’t have shredded coconut and chocolate chips back then, but everything else in the recipe is plausible!
You make these like any other chocolate-chip cookie, but add in oats, chopped pecans, and shredded coconut. And instead of making several dozen small cookies, you make twelve giant balls of cookie dough and refrigerate them ahead of baking so that they stay really thick when in the oven.
Honestly, these turned out a little too thick. They barely melted down at all, and would have been served as baked balls if I hadn’t banged the pan against the counter partway through baking so that they would sink into a more traditional cookie shape. Thankfully they cooked all the way through! I was expecting them to be a doughy mess inside, they’re so thick!
These were a huge hit with my family. We have a family rule that nobody touches dessert until the maker of the dessert serves it up and takes the first bite, but these were so irresistible that my dad acted like a toddler and snuck a piece under the table while we were all still eating dinner. He only got caught because he blurted, “These are the best cookies you’ve ever made!” Haha! I think my family will definitely request these from me again in the near future. Heck, I might make them for myself in the near future! Thank you for the inspiration, Wyoming!

CONCLUSION
Wyoming might not seem as culturally significant as other states, but the cuisine takes you back to the frontier lifestyle that shaped the West. I feel like I have a greater appreciation for my neighbor state and will make an effort to visit sometime soon.
Making this meal was a huge confidence booster for me. I tried to make some brand-new foods, and I succeeded! This is what this personal cooking challenge is all about! I’m happy that I didn’t give up, and this first step into the unknown has given me the encouragement I needed to keep going on this culinary journey. I’m going to approach much more difficult and unfamiliar foods in the future of this challenge, but I feel more ready for it now after clearing this first hurdle!
So how’d I do? Let me know in the comments if you have any suggestions for improvement, and be sure to tune in next time for my take on a meal inspired by Colorado! If that’s where you’re from, what do you think I should make to represent your state? Bonus points if you have reliable recipes or pro tips before I make the attempt! Thank you for reading!
